Thursday, August 30, 2012

The Absence of Children

This morning I dropped the girls off at my cousin's house so that I could have two days to recover my mommy mojo. Afterwards, I headed straight to the fabric store.

But I didn't buy anything; instead I added a couple of books to my Christmas wishlist. Then I went home and....

filled the dehydrator with Kale Chips...

juiced a huge bowlful of veggies....

and sewed the rail fence blocks onto the new wall quilt.


Then I watched a movie called Forks Over Knives, followed closely by Food, Inc. You may never, ever eat an animal product again after watching these...Warning! I am already vegan, so it just reinforced the decisions we've made as a family.

A quick dash to Stony Plain (about an hour from me) yielded the fabric purchases for the day. Why go so far for fabric, you ask? Because not a single fabric store in Edmonton carries laminated cotton! I phoned every one (and I refuse to shop at Fabricland when there are locally owned businesses to support).

These are all Amy Butler prints, the far right is the laminated cotton. I've never bought Any Butler before - nothing against the woman - but her choice of colours is not up my alley. She seems to start every colourway with that awful pale green and go from there. These are for the Punk's new school lunch bag.


This rainbow is the remainder of what $50 got me. The pink cupcakes print is for the Pixie's future quilt, of course.

And one more thing: I've decided to join a procrastinate-a-long. Er....Quilt-a-long.

My first cuts:

Wednesday, August 29, 2012

AM/PM

Here is what the wall quilt looked like in the morning:

 And then I got a request for tiger tails.....yup, distracted!

But then I went through my scrap bin and pulled out every string longer than 7"...and cut then down to seven inches or so. I just eyeballed it against the markings on my cutting board.

Press.

Pile o' awesome.

Here's what I did with them:

I sewed them all to WOF strips of BG. Six fit on one WOF.

Without pressing or cutting, I sewed more to the other side, being careful to mostly match sets.

Then I eyeballed the cut between sets. Cut bravely! It's only scraps.

Press. Add another strip to each side. Press again.

Add another strip of needed - after all, some pieces are more narrow than others.

And then, trim to 6 1/2"

PM shot: still need six more strip blocks, and I have to increase the size of the center to fit.

After that? Maybe a couple more block strips (top and bottom), to square things off a bit.

Sunday, August 26, 2012

P is for...

Punk!

After nearly two weeks of working like a dog to downsize and clean this little house (got rid of many full garbage bags and probably a dozen or more boxes), I am exhausted! My mom moved out and at the same time we converted our home to a fully raw-food haven. I've been very focused on making raw food meals that my kids will eat.

Turns out, if they're hungry enough they will eat anything. Here it's lettuce wraps:


So what does house cleaning have to do with my Punk?

My mom moved out; she had been sharing a room with the Punk. I spent a full afternoon sorting, washing, rearranging the bedroom. The Punk now has a bedroom that echos. She has three pieces of furniture (bed, dresser, and now, Nanny's old desk). She also has very bare walls. Echo....echo....echo....

It's embarrassing because I *make* quilted art and she has none on her walls.

So I hung up her baby quilt and told her to hold on.....I started by improv piecing some letters. We'll see where it goes from there.

I also took this little pile of scraps - they've been cut for two months -

And sewed together a single Jacob's Ladder block.

I even made sure the corners and points all matched perfectly....because I can do that, even though it's not my favorite way of making quilt tops.

Perhaps a bit of regimented patchwork will be good for my mojo. I'd like to set a goal for my scrappy Jacob's Ladder to be finished by Christmas 2014.

Now back to my Punk's walls....

....and my Green Monstrosity.

To the cutting table!


Monday, August 20, 2012

New and Clean

The New: my first cover for my design journal.

From this (yesterday) -

To this  - piecing finished and quilted -

To this - complete and bound.

The inside:

The outside:

The downside:

I tried to measure the book and standardize measurements so that I could eventually write a tutorial and/or make multiples with ease. Big, bad fail. The cover is too big! The book slides around in the large cover - especially top to bottom. I had better luck tracing the book and winging it. I guess I will never be the girl who can follow (or make) directions.

I did have some luck writing up the pattern for my Green Monstrosity, though. That quilt still needs to be finished.....I grew bored with cutting miles of background muslin. I do have motivation to finish - it can get chilly at night now! Today is a boiling hot day and I'm not expecting the night to be much relief, but the clear answer to cold nights ahead is more quilts! Who's with me??

Now for the Clean:

I cleaned my room. Celebrate with me, People! I've only been living here for 15 months, and I finally got my room clean!

Now it looks like a quilter lives here. Don't ask me to show you my husband's side of the room. Let's just say he was not as motivated as I was.

I have a lot of surface spaces, both wall and horizontal, that cry out for quilty dressing up. I have a list of measurements for toppers I need. This project will be a long while in the making.

Of course, if someone wants to help me dress up my space, I am more than open to swaps.

In fact, I'd love some swaps.

Let's swap.


Friday, August 17, 2012

The Stuffing Realm

I started a little improv piecing....a few almost-square shapes, a few strips of ants. I had a little banner of colour.

And then my Pixie decided to start teething...we think she's cutting her four year molars, six months early. She had a fever that peaked at 103.9 and slept with me last night.

This morning, she was puttering around the house and found a little Fisher Price owl that her Daddy loved as a child. We explained that she could not add him to her stash of toys because of the toy's age. She very quickly put two and two together and politely asked me to make her an owl of her own.

How could I refuse my hurting child? This is who we came up with. She calls him Button Owl because of the button print on his body.

Button Owl was very quickly improvised. His eyes were appliqued from a black and white print that will eventually make it into the Pixie's next quilt (the fashionista in her has decreed that her bedroom shall be black, white and pink). His beak is a stuffed and squished triangle.

After the face was on she hit me with an upgrade in the request: her owl had to have the same wings as Daddy's owl.

Those little wings caused me trouble!! I did a. lot. of unpicking stitches, a lot of sewing and resewing, and maybe a little bit of swearing.


I love the way he is more pillow than owl....she already tossed him a few times this afternoon. Before Christmas, he'll be demoted from cuddly to bed accessory.

I didn't make a pattern, and I didn't photograph a tutorial. I really think that anything plush is better if you Wing It! I might even venture into the rag-doll construction zone before Christmas rolls around. If you want to make your own owl, then my only advice is to add the face before sewing the front and back together. I boxed his butt for more stability and pillow-ish-ness.

I guess this....

....will have to wait.


Tuesday, August 14, 2012

The Way of The Creative Heart

It was a dreary, rainy morning. Some artificial sunshine was needed.

I had this wild and crazy idea to make a mug rug for a new friend of mine, and so the day started off like this:

But since I was on a roll, I couldn't stop at mug rug size. I ended up with a mini-quilt.

I had some magical help....my own personal Fairy. I love seeing those drooping wings concentrating on design - and those still-chubby toes standing on a chair at my studio.


This is her first me-designed quilt block ever. I think I might add it into the mix of Rambo Bright blocks, and leave a note for the recipients (her aunt and uncle) about who made it.

She couldn't make the block any bigger because she got distracted by her ability to fit into a backpack.

I will have to have another go at making a mug rug, but my inspiration has changed. I have the plan to go where I've never gone before....my own personally designed paper piecing. Wish me luck, cause I will certainly need it!

After all of this practice, I might feel confident enough to make a cover for my design book. So many ideas, so little time.

Sunday, August 12, 2012

Making It Up As I Go Along

Today was a great day to [finally] create a journal cover that I promised my mom.

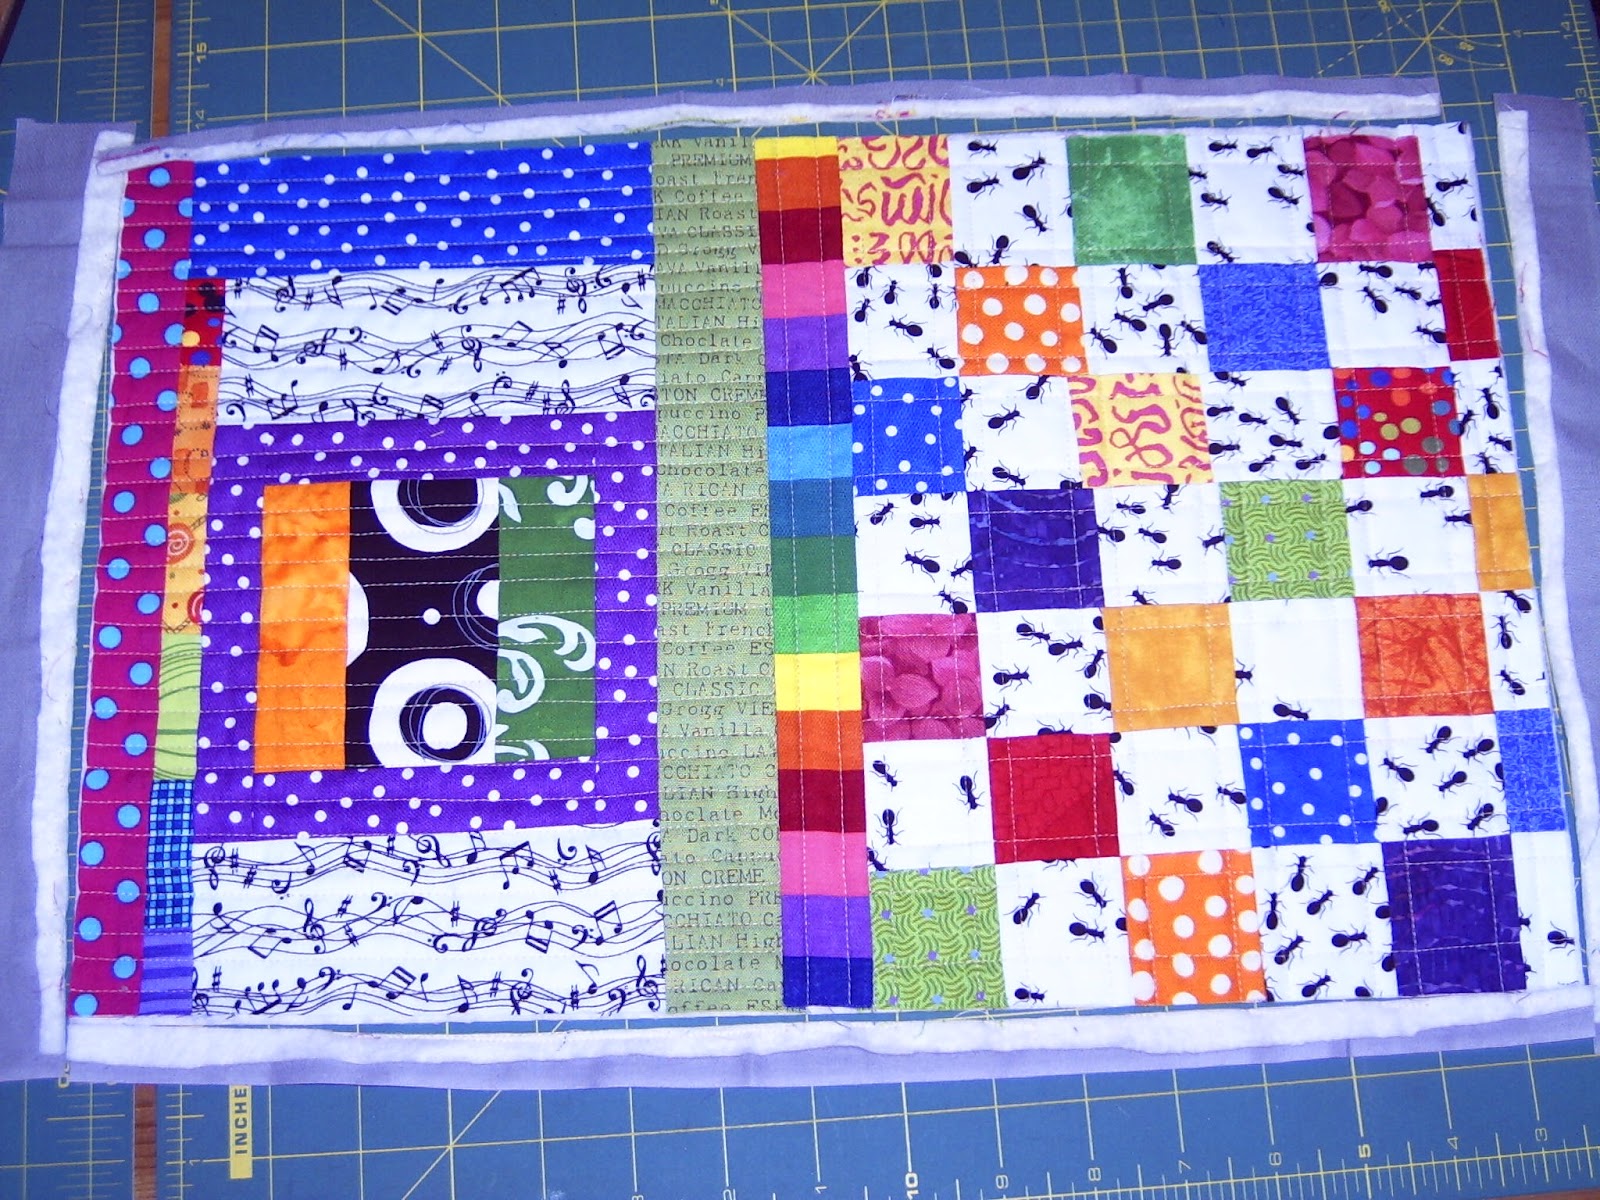
I started with a Kaffe fat quarter and an appliqued  panel that I did in high school. You could put together any patchwork/embroidery/applique that your heart desires. Make sure it's a piece that speaks to your artist's soul.

Square up fabric and slice off two inch strips.

Make panel bigger.

Make panel more bigger. Add enough to go all the way around the book in question.

Make a quilt sammich. I used spray baste because I could. Feel free to use a "second choice" fabric or even a fugly. I promise it won't show.

Lay the book in question on top of the sammich and trace around it using a water soluble marker. I followed less than 1/4" from the edge of the book.

Use the tracing lines so you know where to quilt. Then go to town with the FMQ. Quilt heavily. (Or not, as desired.)

I drew some squiggles, curlicues, petals....

....I even added a heart and did some echoing and stippling.

I trimmed the edges about 3/8" outside the tracing lines. When you do this, please also add about a 1/4" to the width to allow for more ease when the book is closed.

Grab another fabric. Measure book cover and cut two pieces the height of the cover by two-thirds the width.

Notice that you measured wrong and trim to the right size.

Fold these in half vertically. Press and set aside.


Use the same or another fabric to cut bias strips.

Make binding. Duh!

Put it all together: Cover goes wrong side up. Inner flaps need to be placed to that the fold is towards the center and the raw edges match the cut ends of the quilted piece.


You could baste the flaps at this point, but I'm impatient. Pin them mostly well. Sew the binding on in the same pass under the presser foot.

Experiment alert! I did try to do bias binding using a tute I found on YouTube. Something about matching and then measuring the width of the binding to provide cut lines.... Dismal failure. This is a good inch too long.

Fix continuous binding using personal "wing-it" method.


Much better. Finger press and finish sewing.


Second last step not pictured - turn binding to front and stitch down. Use a walking foot. See my towel tutorial if you're unsure how to do machine binding.

Insert a book.

The last step, of course, is to EXHALE because the book fits and you didn't measure much.

Please re-read the tutorial and keep a keen eye out for the places mistakes were made. Avoid making these mistakes.

I believe I'll make one for myself, too! My design book needs an appropriate cover. I think I'll add some shiny....