Monday, January 30, 2012

An Excellent Model

Today my sewing machine and serger were put to good use for a few hours.

I recently made a goal to do housework in the morning, and then sew after I have domestic issues well in hand. This morning the Pixie and I washed the dishes and the master bathroom, stashed some boxes of books and put away a few stacks of laundry.

Just before quittin' time this dress rolled off the production line.

She was naked and in a pull-up for the last hour of sewing...just waiting and anticipating. She becomes a cat walk queen when she has fresh-from-the-presser-foot duds on. She even posed for a back shot.

It's safe to say that she loves this dress.

The Punk has also requested a dress like this. I think it will be a great addition to her school wardrobe.

Poor me! A trip to the fabric store tomorrow! However shall I survive?

Sunday, January 29, 2012

Sunday Eye Candy

Before I jump into this week's Grandparent Eye Candy, please behold the Punk displaying the pink paisley for her sister's new dress. She helped me with the cutting layout.

We've gotten most of the pieces cut out, save for the no-hem band for the skirt. The Chocolate Cherry Pixie Valentine Dress coming this week!

While I was working hard to finish two quilts last week, the Pixie decided that it was an excellent time for some crafting. I guess it was more tiring than she bargained for; she fell asleep in the middle of glue, scissors, googly eyes, paper and more.

That same day, I discovered that my girl was keeping emergency snacks hidden. I fail to see the logic of lining grapes up on the water cooler.... You'd probably have to be a toddler in order to understand.


The Pixie also got a new room this week. The girls had been sharing one room, but due to safety issues the little one had to be removed from the Punk's watchful care. Here she is trying out her new bed the second we got it home and made. The boxes in her room have yet to be cleaned up to make room for her personal furniture and toys.

Here are some Pixie ballet action shots taken after the new bedroom was organized and cleaned. She is so stoked to have private space of her own! You have no idea.... heck, I had no idea that [normal] toddlers needed this much time to themselves.

Observe the grace! The emotion! If she doesn't end up on a stage at some point in her life, I might question the strength of her father's genes.

On a side note: the Pixie and I watched a couple of tv shows about archeology and ever since then this spoon (in her hand) has been her constant companion. Why? Because shovels are too big to find little things in the ground, of course! The snow on our yard has little spoon shovel marks all over it....future career, perhaps?

Thursday, January 26, 2012

As Promised

Well, I said two days, right? Here are the finished quilts.

First up is Bunny Trails. It is 41"by 26".

It really needed binding to make the colours pop. The binding is made from leftover scraps....some from the Punk's denim quilt, some from the Floating Fruit trivet, and the piece along the bottom is from the Christmas tree skirt. I love how the quilting turned out.

And now for The Dark Side.

 The full name of this quilt is "The Dark Side: Modern Churn Dash." My skills weren't quite up to quilting exactly as I imagined, so I consulted with The Husband. As usual, his suggestions were spot on. We love the juxtaposition of flowers and curves on the Light side, and a more industrial design (almost like pipeworks) on The Dark Side.

 The size ended up being just shy of 40" square.
There is an inscription on the backing, next to a bloodstain, that documents a bug bite the Punk got on July 8, 2011. This puts the start date of The Dark Side in June of 2011. I believe that this has been my longest WIP.

 I drafted the bi-polar pattern myself, based on a traditional block. I had the idea that it would make a very cool twin size, maybe done in black & white and neons.
 I overcame my dread of learning how to miter corners on this quilt. I also do not like how the ditch stitching turned out and I may go back and fill in more areas with FMQ. I'll have to consult with the Husband (since his artistic suggestions have already made it onto this work).
I am most certainly going to use both of these FMQ patterns again. The pipeworks was so quick! Plus it used up about half the number of bobbins as the flowers.

I think the plan for now is a couple of days away from my machine - shopping, sorting books, moving furniture to give the Pixie her own room. After that? The Pixie picked out these fabrics and requested a new dress. She's got an awesome fashion sense.

Tuesday, January 24, 2012

Stubborn

I actually don't want to post today.

But since I have some pictures and have made a heck of a lot of progress on two WIPs.....

This is a practice sandwich I threw together before jumping onto an actual quilt. I've always thought that free motion feathers were the epitome of FMQ success....but now that I'm here and able to do them, I find that I don't even like them anymore. They're not my style. I prefer the "oak leaf" on the left.

I used the Oak Leaf all over Bunny Trails. Here is [part of] the back. Full reveal in a couple of days when it is bound.

I used the same sandwich to create a flowery pattern to use on the light half of The Dark Side quilt (if that made no sense, know that it's me, not you).

This pattern evolved as I was stitching it and I ended up with a FMQ pattern that will be used again and again.

 Here is what The Dark Side looked like when I unearthed it from a seven month hibernation. It's been partially quilted, awaiting the time when my FMQ skills caught up to my imagination.

Super wrinkly! But it's been behaving nicely while quilting.

What's that you say? Where does the Dark part come in? This is the back....Can you guess what pattern I [sort of] used? It is a redrawn, modern version of a very traditional pattern. You can see it if you look closely enough.

Full reveals in two days. Max.

Sunday, January 22, 2012

Bunny Trails

Last night I cleared my desk and prepared to allow inspiration to lead me. The leader/ender chains took up a lot of space on my cutting surface.

Chains + chocolate batik = Bunny Trails!

I know I want to hang this piece vertically, but I still haven't confirmed which way is "up." Horizontal gives pretty pictures, too.

As I type, "Bunny Trails" has already been [spray] basted and is awaiting free motion quilting. I've already purchased the thread, too.

See? Necessary items...more cream for the Green quilt; a mottled grey for Rambo Bright; two spools of King Tut (Joseph's Coat and Cobra); one spool of 50wt Auriful cream for piecing; and fresh oil for my machines. I love me some King Tut.

And, because Sunday is the best day for it, I present my latest photographic work. I call it "Pixie on a Piano."

This is it's companion photo "Punk on a Piano."

This is just for Gramady. The Pixie gets more and more impish as she gets older. The Husband may telephone and apologize to you.

The Pixie and I were doing a sea animals puzzle the other day, and she was very precisely identifying everything before placing the pieces. However, she had never seen an otter before.

She declared that it was a "Sea Gopher."

Saturday, January 21, 2012

Improvments

This darling little sho-fly block came together very nicely considering that nothing was measured. It is also so boring that it would suck the life out of Rambo Bright.

I had to chop it up. Much better, yes?

I also made this one:

And these two:


While I was working on these, something wonderful was happening with my leaders and enders. I've been using little cast-off pieces, and trimmings....just sewing them together into long chains. This is what I ended up with after two days.

They are pretty long and very random. They have inspired me.

So I pulled this chocolatey coloured batik from stash....

I have the best idea! I'm crossing my fingers that it looks as good translated to fabric as it does in my head.

Thursday, January 19, 2012

Sick Day

We were woken up by the Pixie at about four in the morning....she reported that the Punk had puked in both beds. My day has just been one round of eew after another.

I could not work on Rambo Bright. That requires too much concentration to keep my designs straight in my head from block to block. Instead I pulled some blues and threw this top together:

I wanted to practice sewing free-form curves.

But now, how to finish? There are several options.

I could quilt and bind traditionally (by hand or machine). I could quilt and "art bind" by turning the entire binding to the back so it doesn't show on the front - a good option for a piece large enough to need a hanging sleeve. The outside measurements for this piece is 22"x 14" so I know I'll likely hang it with pushpins.

I chose to bag this quilt.

Bagging is basically finishing the edges before you quilt. It's not recommended for any project larger than a baby quilt, but it's great for small art, mugrugs, table runners, or wherever you don't want a traditional binding. It's also the easiest method that allows me to follow the natural skewed lines around the edges of an improv piece.

Here's how I did it. (The Bagging Tutorial)

1. Obtain a backing of the approximate same size as the top. Press it well. I pieced a backing using leftovers from another quilt.

2. Estimate batting size by laying your top on the goods and trimming around. You do not need to give a lot of extra around the edges. This is a great place to use frankenbatting.

3. Layer in this order: batting first, then backing, right side up. You could chose to spray baste between these layers. I did not.

Then smooth your top wrong side up on top of the batting and backing. The top and backing will be right sides together. Using your fingertips, feel around the edges to make sure there is batting underneath the entire top. Reposition if necessary.

4. Once you are satisfied with the smoothness of your quilt sandwich, pin around all four sides using straight pins. The space between the double pins is to be left open for turning. The double pins remind me to not sew in that space...a good trick for someone scatterbrained like myself.

5. Switch to a walking foot if you have one, and pop in a 90/14 topstitch needle (or whatever you would normally use for quilting). Sew around the entire piece, leaving a space to turn; backstitch at double pin markers. Follow the edges of your top, rather than squaring up (unless that's your thing). This gives you that organic shape and wastes less fabric.

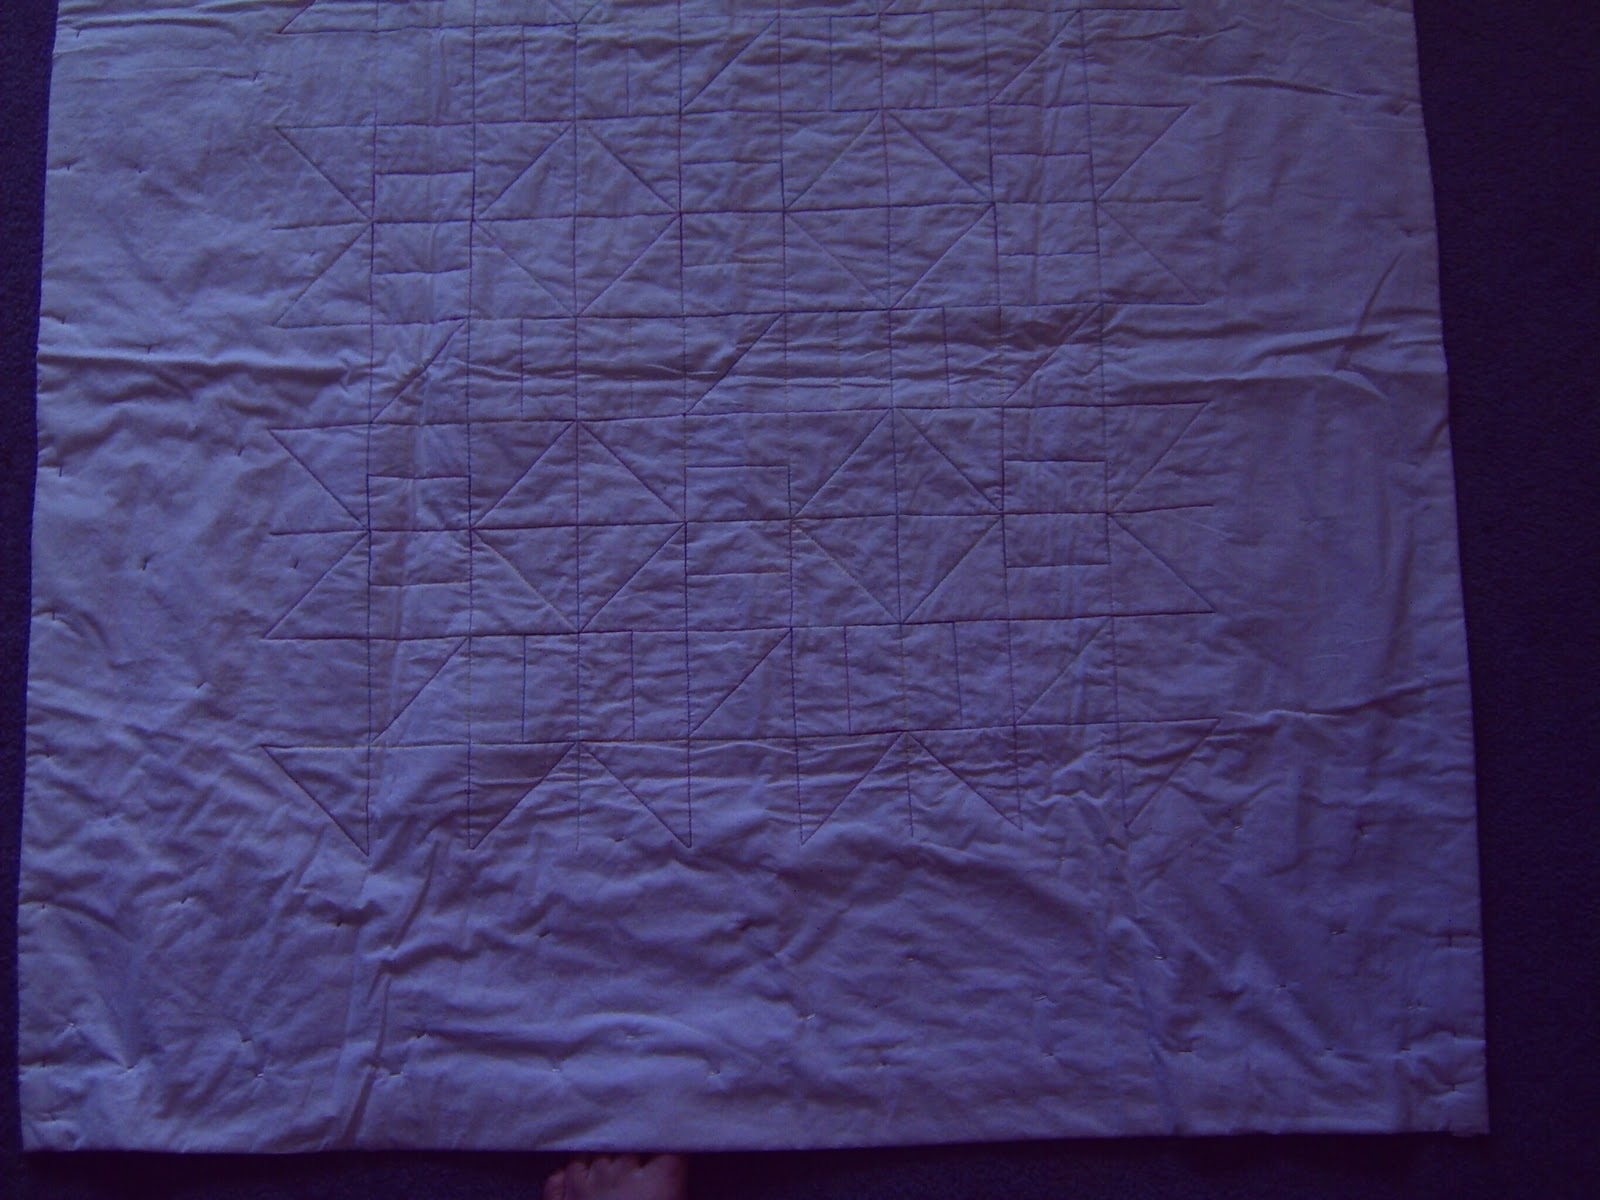
Where there is huge discrepancy in the shape, just wing it: use your stitching to smooth the shape a little (unless you like to deal with more than four corners on a piece). You can barely see my stitching line on the light blue, but you can see the results in the final pictures.

6. Trim by running your rotary cutter about 1/4" away from your line of stitching. Chop the corners to make for easier turning.

7. Reach between the top and the backing and turn inside out. Use a bone folder to push out the corners. Also, run it around the entire line of stitching to stretch your fabric to the stitching line in preparation for pressing. Then, using steam, press the three layers from the top to make sure your backing doesn't show on the front. Press the edges of the opening in.

8. Slipstitch the opening closed. Press again to meld the layers together.

9. Pin baste. Generously.

10. If you want your label quilted on, fuse or applique a label to the back now. Do it after quilting if you prefer.

11. Quilt as desired. Stop when it looks good. You're done when you clip the final thread. I used my walking foot and meandered waves across the entire piece.

12. Enjoy! I stuck pins in each corner and hung this "Fish Tank" on the wall behind the tv. This way I have something nice to look at while the Pixie is on a Treehouse kick. (The second picture didn't want to include the weird corner.)

The added bonus? We now have two new pets who never need feeding.

I think I'll call them Stinky and Slimy. They shall by my spokesfish for a new camera.